Printable Nursery Wall Art: Style & Print Guide
2026-07-28
Printable nursery wall art makes it easy to give your baby’s room a finished, personal look without waiting for shipping or committing to one expensive statement piece. You can choose art that suits your palette, print the sizes your wall needs, and update a frame arrangement as your little one grows. The secret is not filling every blank space: it is choosing a gentle theme, repeating a few colors, and giving each print room to breathe.
Start with a nursery wall art theme you can live with
Before selecting individual designs, decide on the feeling you want the room to have. A clear direction prevents a gallery wall from looking like a collection of unrelated cute pictures. Browse the full printable nursery wall art collection with your room’s existing finishes in mind: the crib color, rug, curtains, and wood tone all count as part of the palette.
These themes are especially versatile because they work from newborn days through the toddler years:
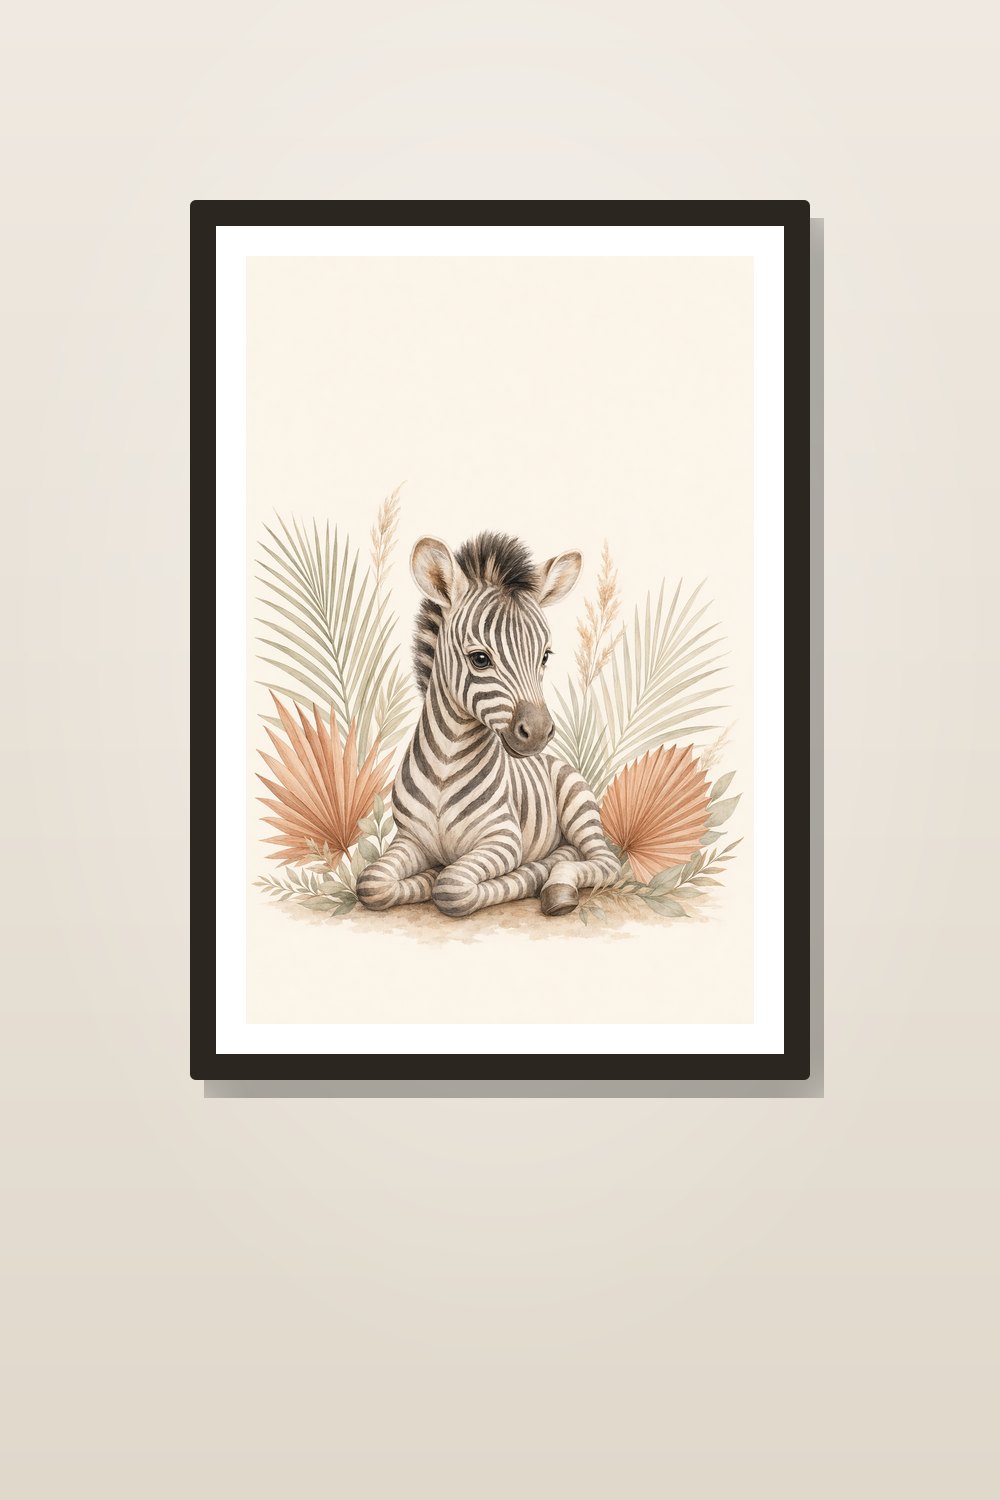
- Neutral safari: Soft animals, warm beige, terracotta, olive, and muted blue work beautifully with natural wood and rattan.
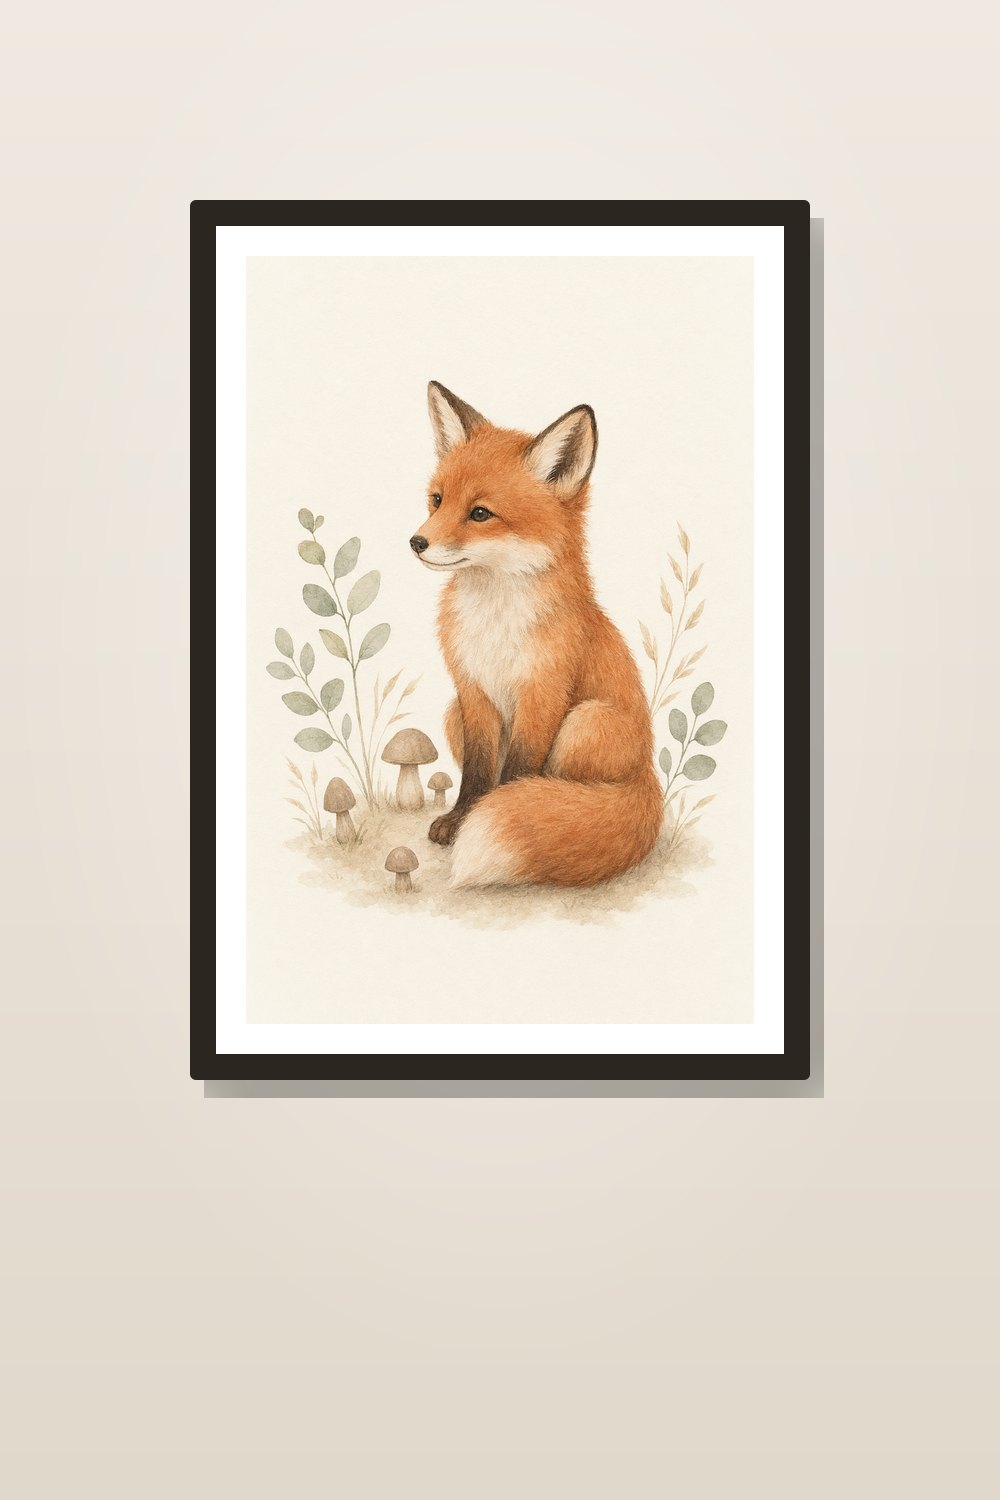
- Woodland and forest: Foxes, deer, hedgehogs, and leafy details create a calm, storybook feel without being overly babyish.
- Scandinavian minimal: Simple shapes, pale backgrounds, restrained colors, and clean typography suit bright, uncluttered rooms.
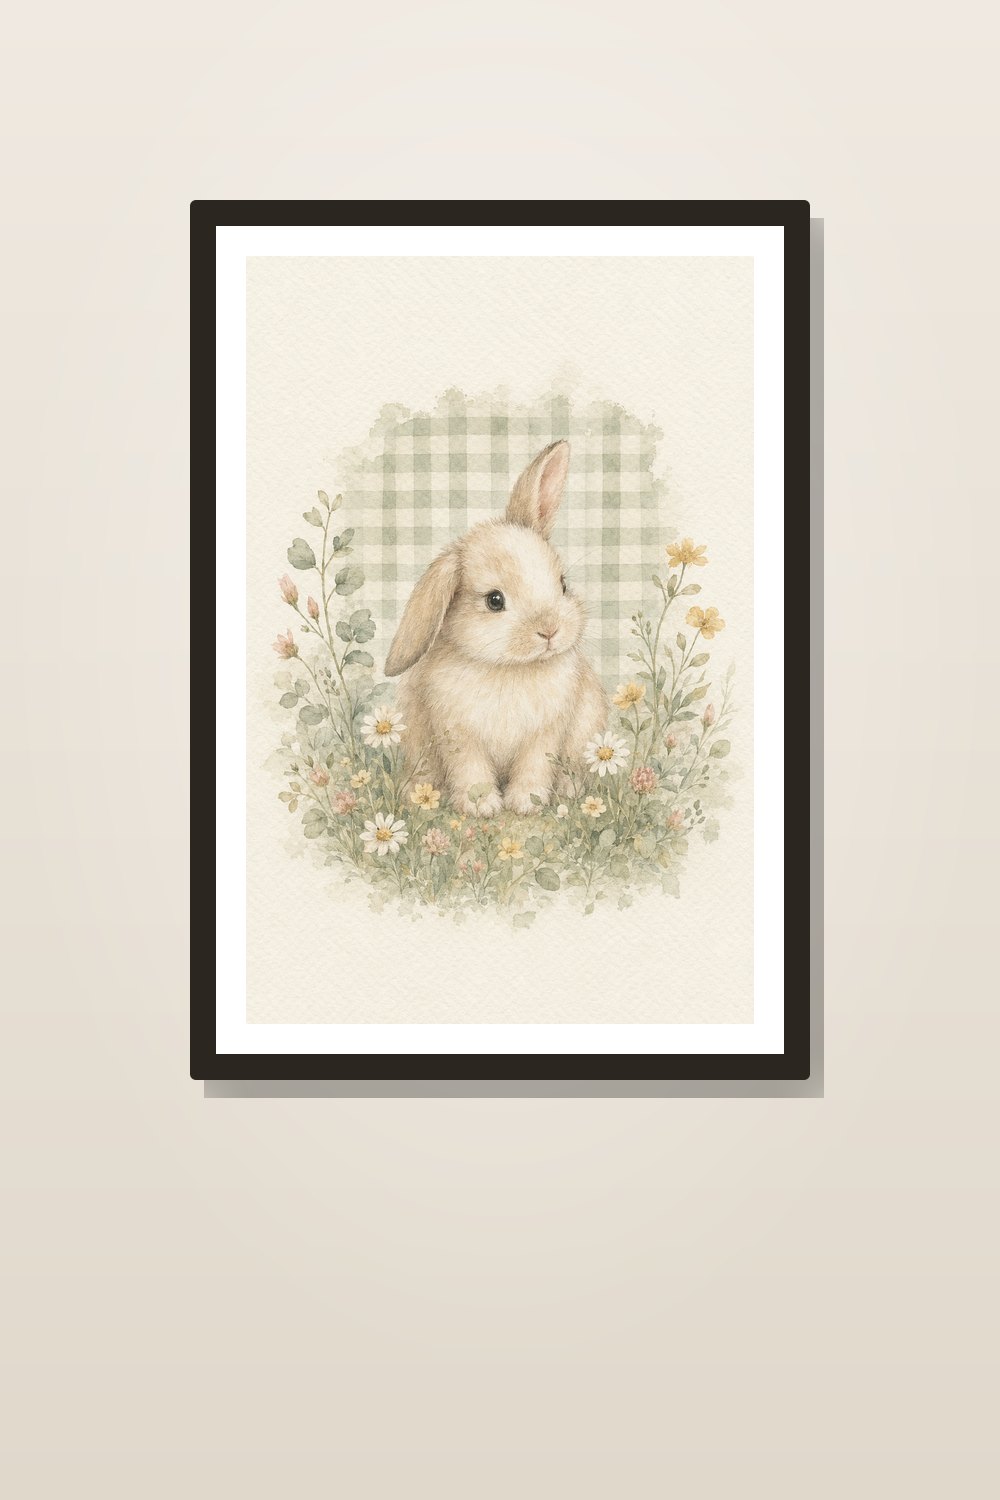
- Cottagecore animals: Bunnies, ducks, wildflowers, and soft sage tones add warmth to a vintage-inspired space.
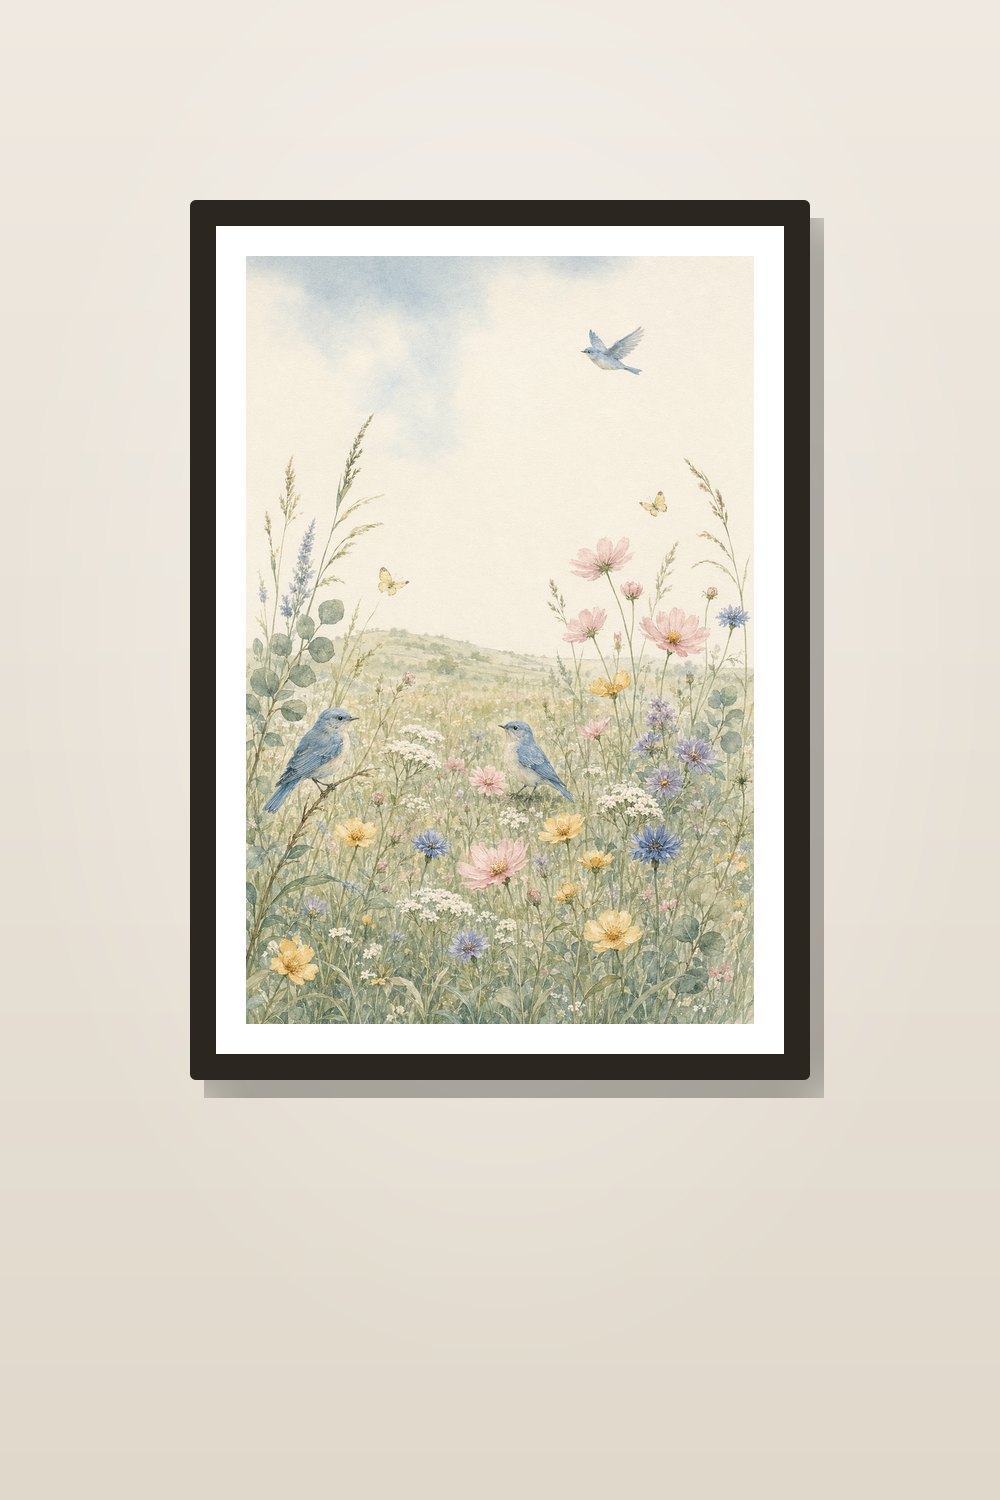
- Botanical and seasonal: Florals, birds, and butterflies are lovely for spring and summer, while a small seasonal print can make the room feel celebratory without a full redecorate.
If your furniture is already colorful, choose quieter art with cream backgrounds and just one or two accent shades. If the room is mostly white or wood, art can be the source of color. A set such as the neutral safari nursery print set is a useful starting point because its restrained palette can coordinate with many bedding and storage choices.
Choose the right arrangement for your wall
Your layout should follow the available wall space, not just the number of files in a set. Measure the clear area after accounting for furniture, lamps, shelves, and crib placement. Painter’s tape or sheets of plain paper cut to frame size are invaluable: place them on the wall first and adjust until the balance feels right.
Use a single large print for a small wall
A single 11 x 14 inch or 12 x 16 inch print is often enough above a narrow dresser, beside a reading chair, or on the wall near a changing station. It looks intentional, is quick to install, and leaves room for a small name sign or shelf elsewhere. Select artwork with a clear central subject rather than a busy multi-character scene.
Build a three-print row above a dresser
Three matching frames are one of the simplest nursery arrangements. Center the middle print on the dresser, then keep equal gaps—usually 2 to 3 inches—between each frame. Use either three identical sizes or one larger central print flanked by two smaller prints. A woodland animal collection such as this neutral boho forest animal set gives you related characters without making every image identical.
Create a six-piece gallery wall over a crib or daybed
A six-print set is ideal for a broad, uninterrupted wall. Keep the frames uniform for a polished look, or mix two frame sizes while repeating the same finish. For example, use two 11 x 14 inch focal prints in the center and four 8 x 10 inch supporting prints around them. Lay everything out on the floor first, then hang the center pieces before working outward.
For crib safety, do not hang heavy frames within a child’s reach or directly where a baby could pull them down. Follow frame and hardware weight guidance, secure artwork properly, and consider a different wall if there is any doubt.
Make color look coordinated, not overly matched
You do not need to match every nursery item exactly. Instead, repeat two or three colors across the room. A sage-and-warm-beige print set might connect to a sage fitted sheet, a cream rug, and light oak frames. Let neutral walls and furniture create the quiet background.
The sage green bunny and duck print set is especially easy to style with flax, cream, tan, pale wood, and brushed brass. If you prefer a lighter seasonal look, watercolor florals and birds from the spring wildflower nursery art set can bring in soft blue, blush, and green without requiring matching furniture.
For a more collected arrangement, mix a themed art set with one personal element: a framed initial, a simple birth announcement, or a small family photo. Keep that extra item within the same color family and use a matching frame finish so it belongs with the printable art.
How to print printable nursery wall art beautifully
Digital files can look remarkably polished when you choose the right paper, printer setting, and frame. Review the file’s included size and ratio instructions before printing. Cropping a file to a frame size that does not match its ratio can cut off important details or leave unwanted borders.
- Pick your final frame sizes first. Common, budget-friendly choices include 8 x 10, 11 x 14, and 16 x 20 inches. Buy frames before printing if possible so you can print to fit.
- Use matte paper for most nursery art. A heavyweight matte presentation paper or smooth cardstock around 200–250 gsm gives soft watercolor and illustrated designs a refined, low-glare finish. Glossy paper can reflect nursery lighting and show fingerprints.
- Print a test page. Print one design at a smaller size or on plain paper to check brightness, color, and cropping. Screens are backlit, so a printed piece may appear slightly darker.
- Select the best-quality setting. In your printer dialog, choose the correct paper type and a high- or best-quality option. Turn off automatic “fit to page” scaling unless the file instructions specifically recommend it.
- Use a local print shop for large sizes. For 16 x 20 inches and above, or for a full gallery wall, a professional print counter can be easier and more consistent. Ask for heavyweight matte paper and request that no automatic color corrections be applied if that option is available.
- Let ink dry fully. Give home-printed pages time to dry on a clean, flat surface before trimming or framing, especially when using inkjet printers.
Frame and hang your prints with a finished look
Thin wood, white, light oak, and natural frames are dependable choices for nursery decor. Black frames can work beautifully in a modern room, but repeat them elsewhere—such as in a mirror or shelf bracket—so they do not feel isolated. Use mats when you want a smaller print to have more visual presence, or skip mats for a relaxed, contemporary gallery wall.
Keep spacing consistent. A 2-inch gap between small frames and a 3-inch gap between larger frames usually looks balanced. Hang the visual center of an arrangement at a comfortable viewing height, then adjust for furniture beneath it. Above a dresser, leave roughly 6 to 10 inches between the furniture top and the lowest frame edge.
Use the back-to-school season as a gentle refresh
With back to school only 18 days away, you may be preparing a bedroom for an older sibling while also settling a nursery routine. This is a practical moment to refresh a shared or adjacent kids’ space with art that feels calm and age-flexible. Woodland animals, nature scenes, and neutral safari prints can move easily from a nursery to a toddler room later, making them a smart choice for a home update that will last beyond one season.
For art outside the nursery—or for coordinating a hallway, play corner, or sibling’s room—explore the wider printable wall art selection. Choose one shared accent color across nearby rooms, and your home will feel thoughtfully connected while each child’s space still has its own personality.