Printable Planners: Ideas, Styling & Print Tips
2026-07-21
Printable planners help you build a planning system around the way your household, school schedule, and routines actually work. With back-to-school only 25 days away, this is an especially useful time to create a simple binder or notebook for assignments, meals, appointments, money, and weekly resets. The best setup is not the one with the most pages; it is the one you will comfortably open and use.
Start with the planning problem you want to solve
Before printing a full stack of pages, think about the moments that currently feel rushed or easy to forget. A planner should reduce the number of things you have to hold in your head. Choose a few page types that support your real needs, then add more only when you notice a gap.
For a back-to-school setup, your core pages might include:
- A monthly overview for school dates, appointments, activities, and deadlines
- A weekly page with space for top priorities and daily tasks
- An assignment or homework checklist
- A meal plan and grocery list for easier weeknight decisions
- A simple spending or bills page for seasonal expenses
You can browse the full range of printable planner pages and select only the formats that fit your routines. An undated layout is particularly flexible: start in the middle of a month, pause during a busy period, or reuse the same design next year without wasting pages.
Printable planner ideas for a calmer school season
Create a family command center
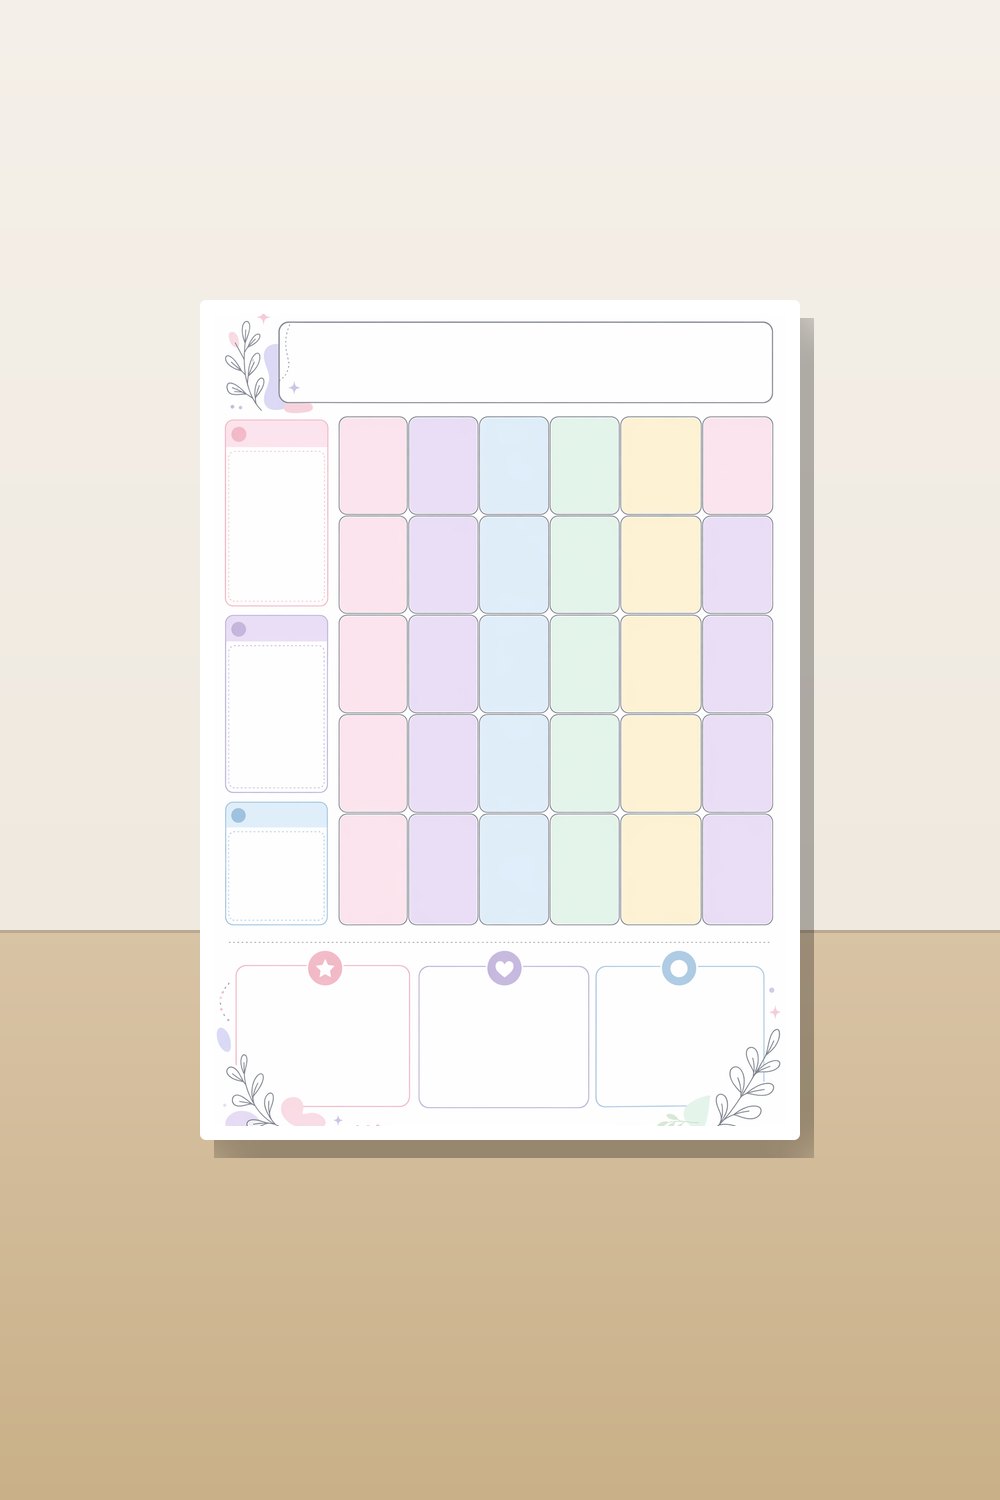
A command center works well when several people need to see the same week. Keep a monthly calendar where everyone can spot school events, practices, early-release days, and appointments. Add one weekly task list for household jobs and a designated place for papers that need attention.
If visual cues and generous writing space make dates easier to process, an ADHD-friendly large-print monthly calendar can make an effective central planning page. Put it on a clipboard, in a kitchen binder, or on a desk stand rather than hiding it in a drawer.
Make homework steps visible
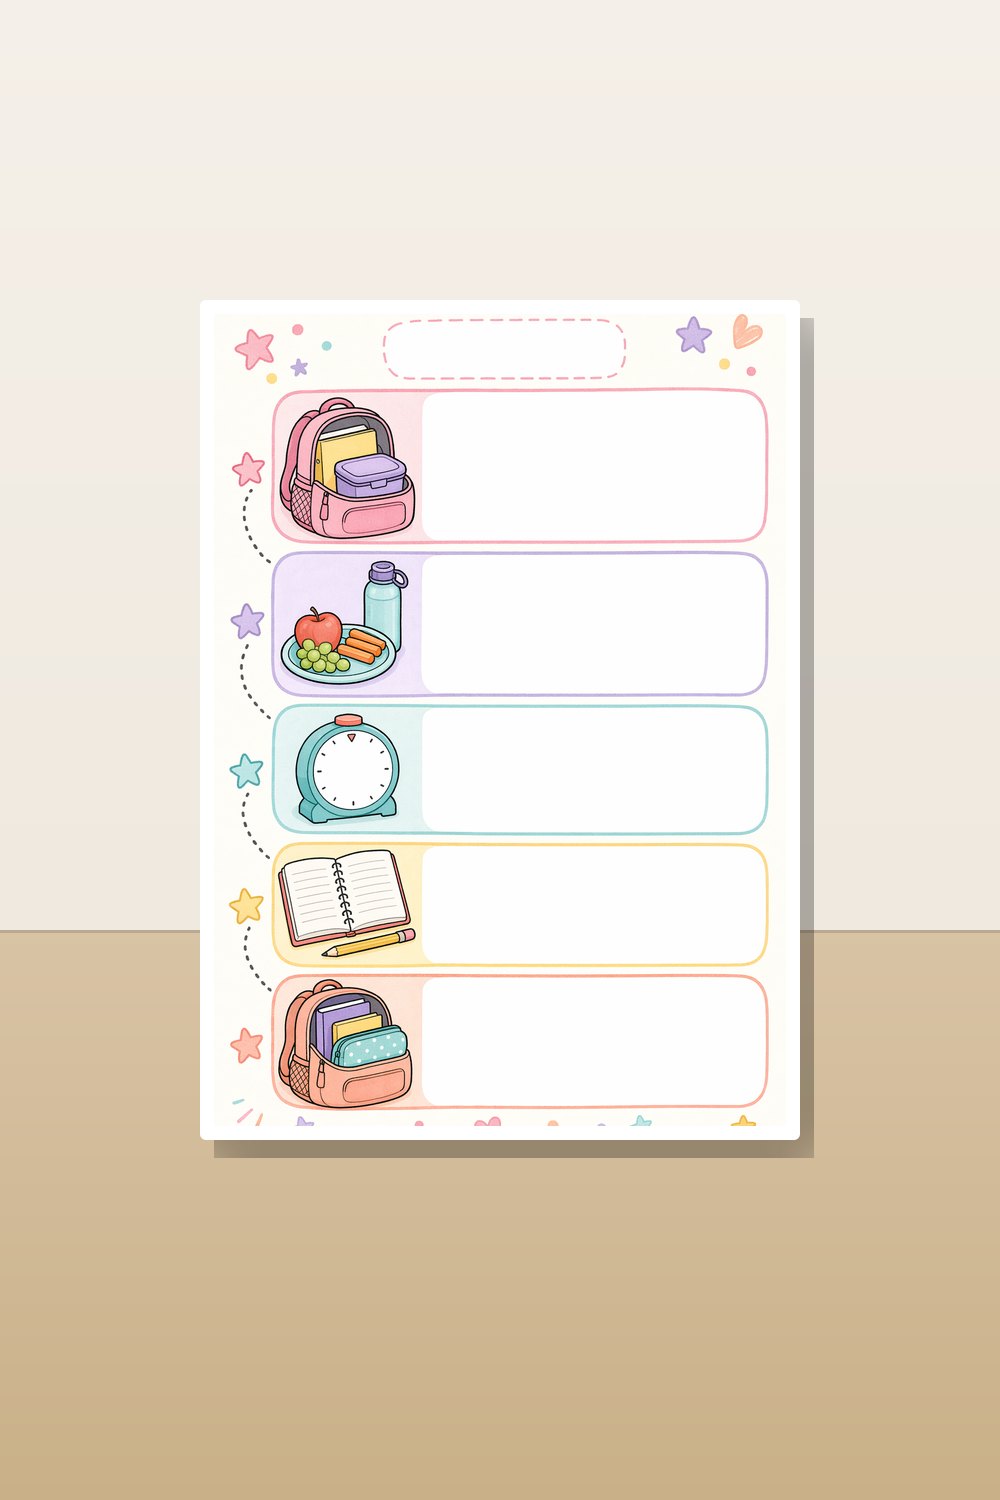
“Do homework” is often too broad to be actionable after a long school day. Break the routine into a repeatable sequence: unpack bag, have a snack, check assignments, choose the first task, take a short break, pack for tomorrow, and place completed work by the door.
A dedicated pastel homework planner and visual checklist bundle gives those steps a consistent home. Use a highlighter or a small check mark beside each completed action. The goal is not perfection; it is making the next step obvious when energy is low.
Build a weekly reset section
Reserve 15 to 20 minutes each weekend for a reset. Review the coming week, transfer important dates, check school messages, plan a few meals, and identify one or two tasks that need preparation. A short reset prevents the planner from becoming a record of things you meant to do.
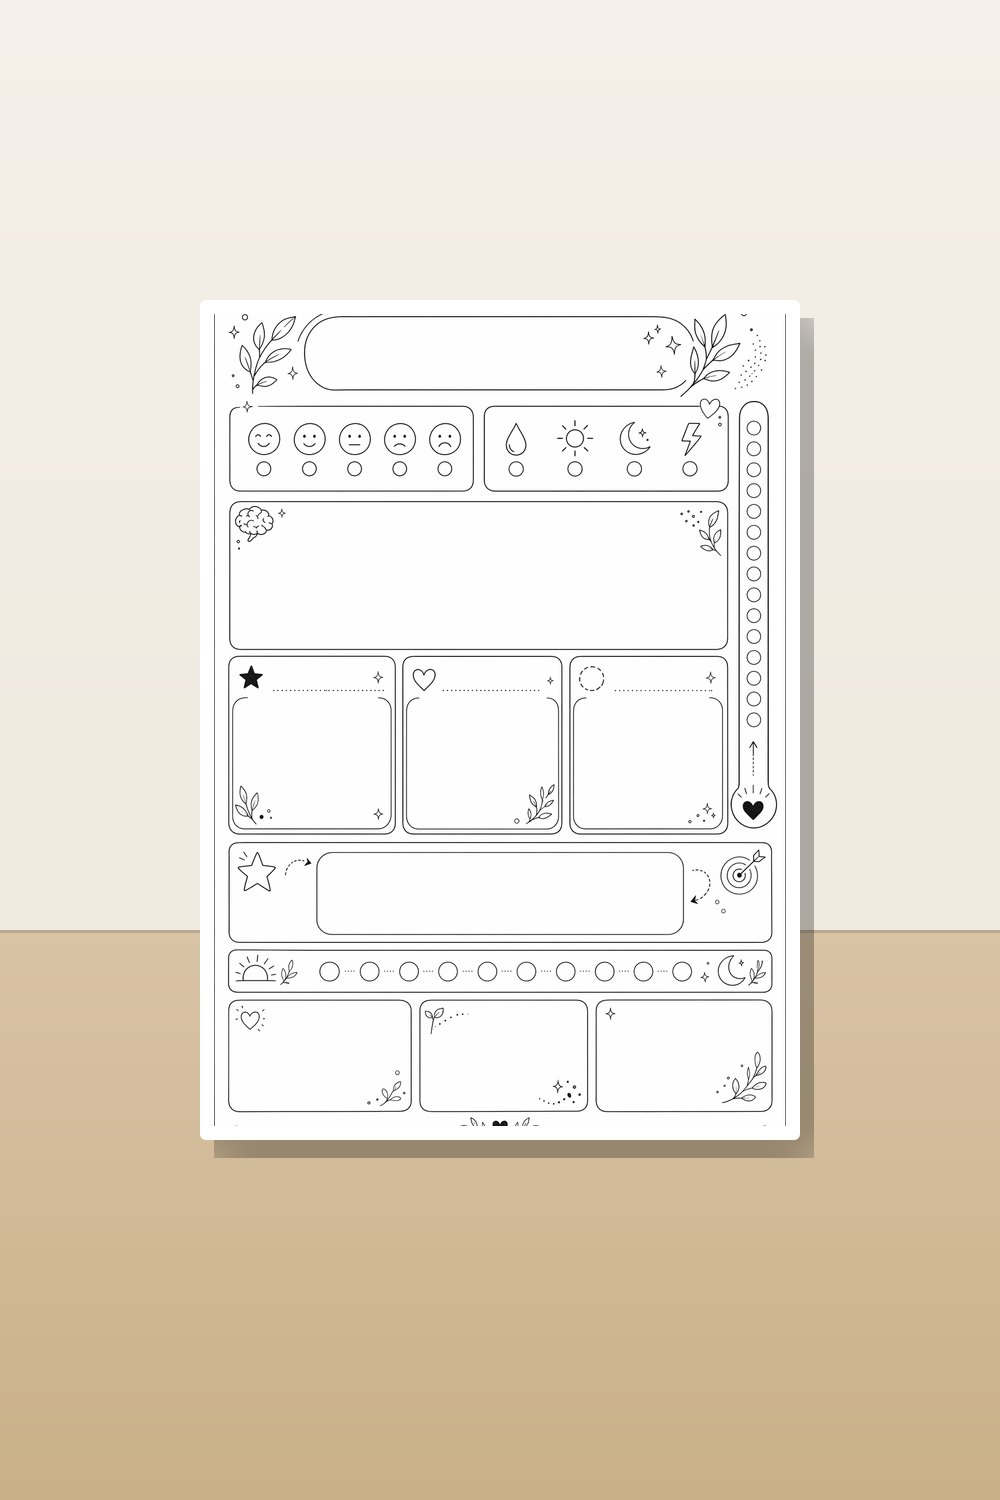
For daily follow-through, include a routine page with small sections for priorities, appointments, meals, movement, and a brain-dump list. An ADHD daily reset planner bundle is useful when you want guidance for starting, refocusing, and closing out the day without filling in a rigid hourly schedule.
Pair school planning with meal planning
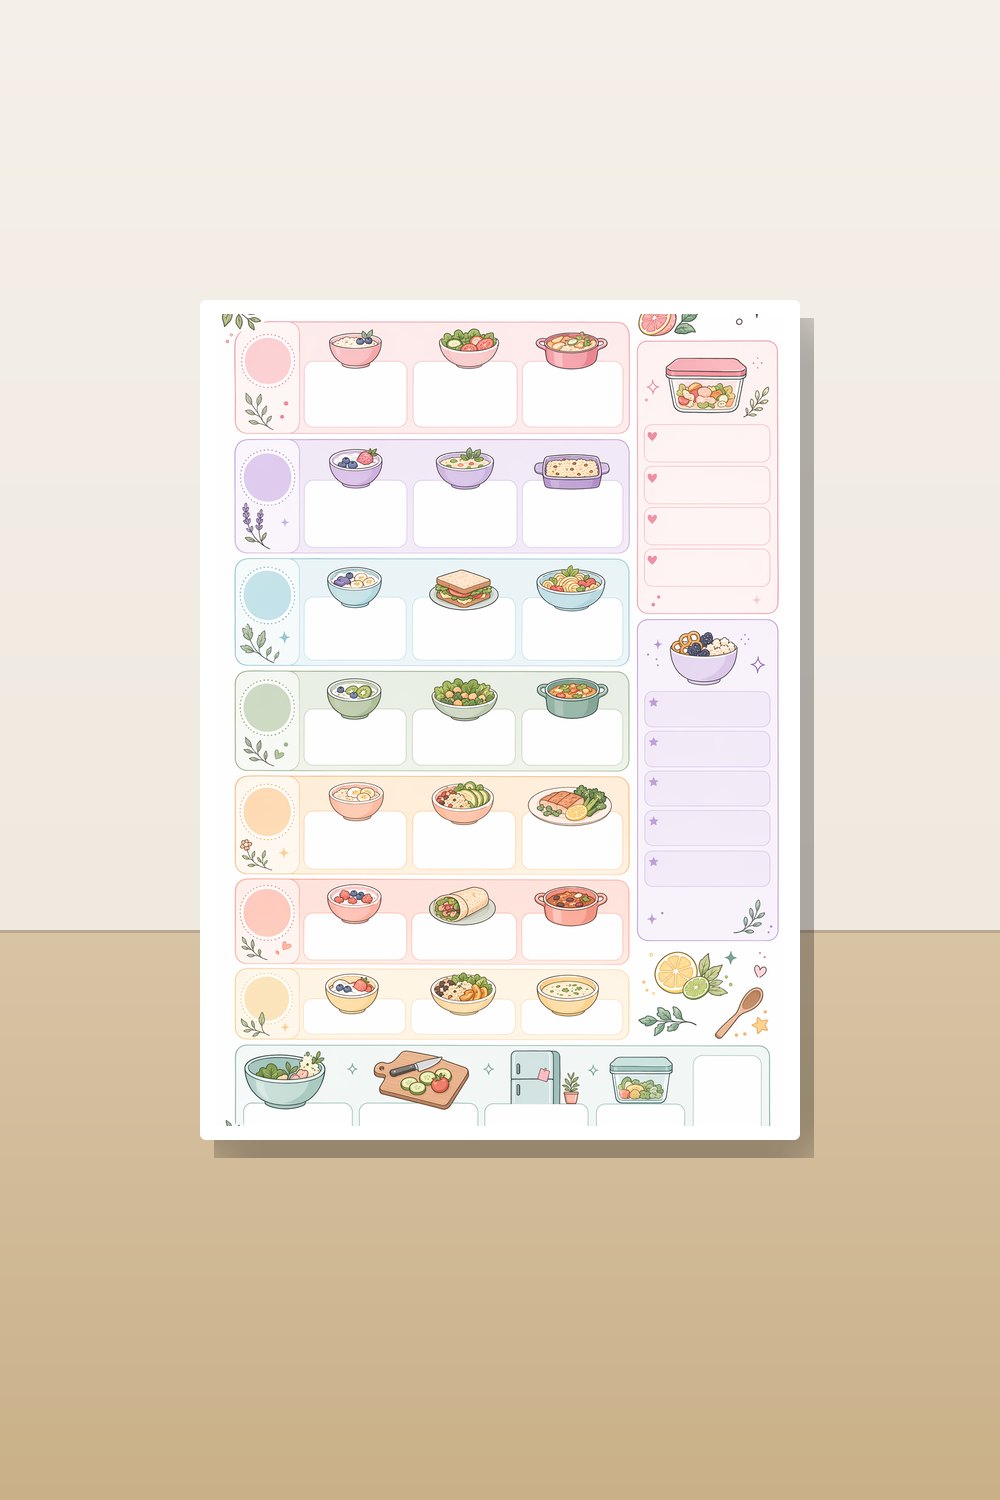
The first weeks of school can make dinner feel like one decision too many. Keep a weekly meal page directly behind your calendar so you can see busy evenings before choosing meals. Plan easy options for activity nights, write down ingredients you already have, and make one grocery list for the week.
A visual meal planner and grocery list bundle can help you turn loose meal ideas into a realistic plan. Keep a few reliable breakfasts, lunches, and emergency dinners in the notes section; repeating favorites is a smart shortcut, not a planning failure.
Choose a format before you print
Printables look more intentional when their format matches how you plan. Decide where you naturally reach for your planner, then print for that location.
- Letter size: Best for roomy writing space, home binders, desk planning, and standard North American printers.
- A4: A practical choice for many international printers and larger binders.
- A5: Ideal for a portable ring binder or planner cover. You may print two A5 pages on one Letter or A4 sheet, then trim them.
- Half-letter: Compact and easy to carry, with slightly more room than some smaller planner inserts.
Check the PDF’s listed size before choosing print settings. Do not assume that selecting “fit” will preserve margins or small text. If a page includes a border or design close to the edge, print a single test page first.
How to print printable planners beautifully
Use the right paper for each page
Regular 20 lb copy paper is fine for calendars, checklists, and pages you replace frequently. For divider pages, covers, trackers you want to keep, or double-sided pages with lots of writing, choose 24 to 28 lb paper. A smooth, bright white sheet keeps pastel colors clean and makes small text easier to read.
Use cardstock only for covers, tabs, dashboards, or inserts that need extra durability. Heavy cardstock can make a planner bulky and may not feed well through every home printer.
Set up your printer carefully
- Download the PDF and open it in a reliable PDF reader rather than printing from a browser preview.
- Select the correct paper size in both the printer settings and the PDF print dialog.
- Choose Actual Size or 100% scaling whenever the page size matches your paper.
- For a smaller insert, use multiple-pages-per-sheet settings only if you are deliberately creating that insert size.
- Print one test page in black and white or draft mode to check margins, orientation, and legibility.
- Once it looks right, print the final copies at normal or high quality.
If you are printing double-sided, first learn how your printer flips pages. Print two test sheets with a large arrow or a note at the top, then check whether you need long-edge or short-edge binding. This tiny test saves a whole batch of upside-down backs.
Trim, punch, and protect the pages
A paper trimmer creates straighter edges than scissors, especially for A5 or half-page inserts. For ring binders, use a hole punch that matches your binder style and test the hole placement on scrap paper first. Keep at least a small inner margin so punched holes do not cut into writing space.
Use clear page protectors for reference pages you consult often, such as a school-year calendar, meal ideas, cleaning checklist, or bill schedule. Protectors are also helpful for reusable lists: write on them with a dry-erase marker and wipe clean after the week ends.
Style your planner without making it harder to use
Your planner can be attractive and still practical. Start with one visual direction: soft pastels, minimal black and white, warm neutrals, or one accent color. Repeat that choice across your cover, dividers, sticky notes, and pens instead of mixing too many themes.
- Use color for categories, such as school, home, appointments, and personal tasks.
- Add simple tab labels so you can find monthly, weekly, meals, and notes quickly.
- Choose one dependable pen color for everyday writing and one highlighter for urgent items.
- Keep decorative stickers away from narrow writing areas and dates you need to read.
- Leave some blank space. A planner needs room for changes as much as it needs structure.
Most importantly, place the finished planner where it will be used: by the coffee maker, beside your laptop, in your school bag, or near the family calendar. A beautifully printed page becomes useful only when it is visible at the right moment. Begin with a small, supportive set of printable planners, use it for two weeks, and adjust your sections based on what genuinely helps.